Sometimes it's a small trickle, and during some of those really windy storms maybe it's a steady stream - either way, a roof leak during active rain is pretty stressful. We thought we’d help you stress a little less and give you some of the things you can do to minimize the damage to your home if this happens. Taking a few specific actions while this flooding is actually happening can determine how much damage your home actually takes, and can make a huge difference in the bill that you see to repair the damage!
We thought we’d walk you through exactly what to do right now!
You Don’t Need to Panic, But You Should Act Fast
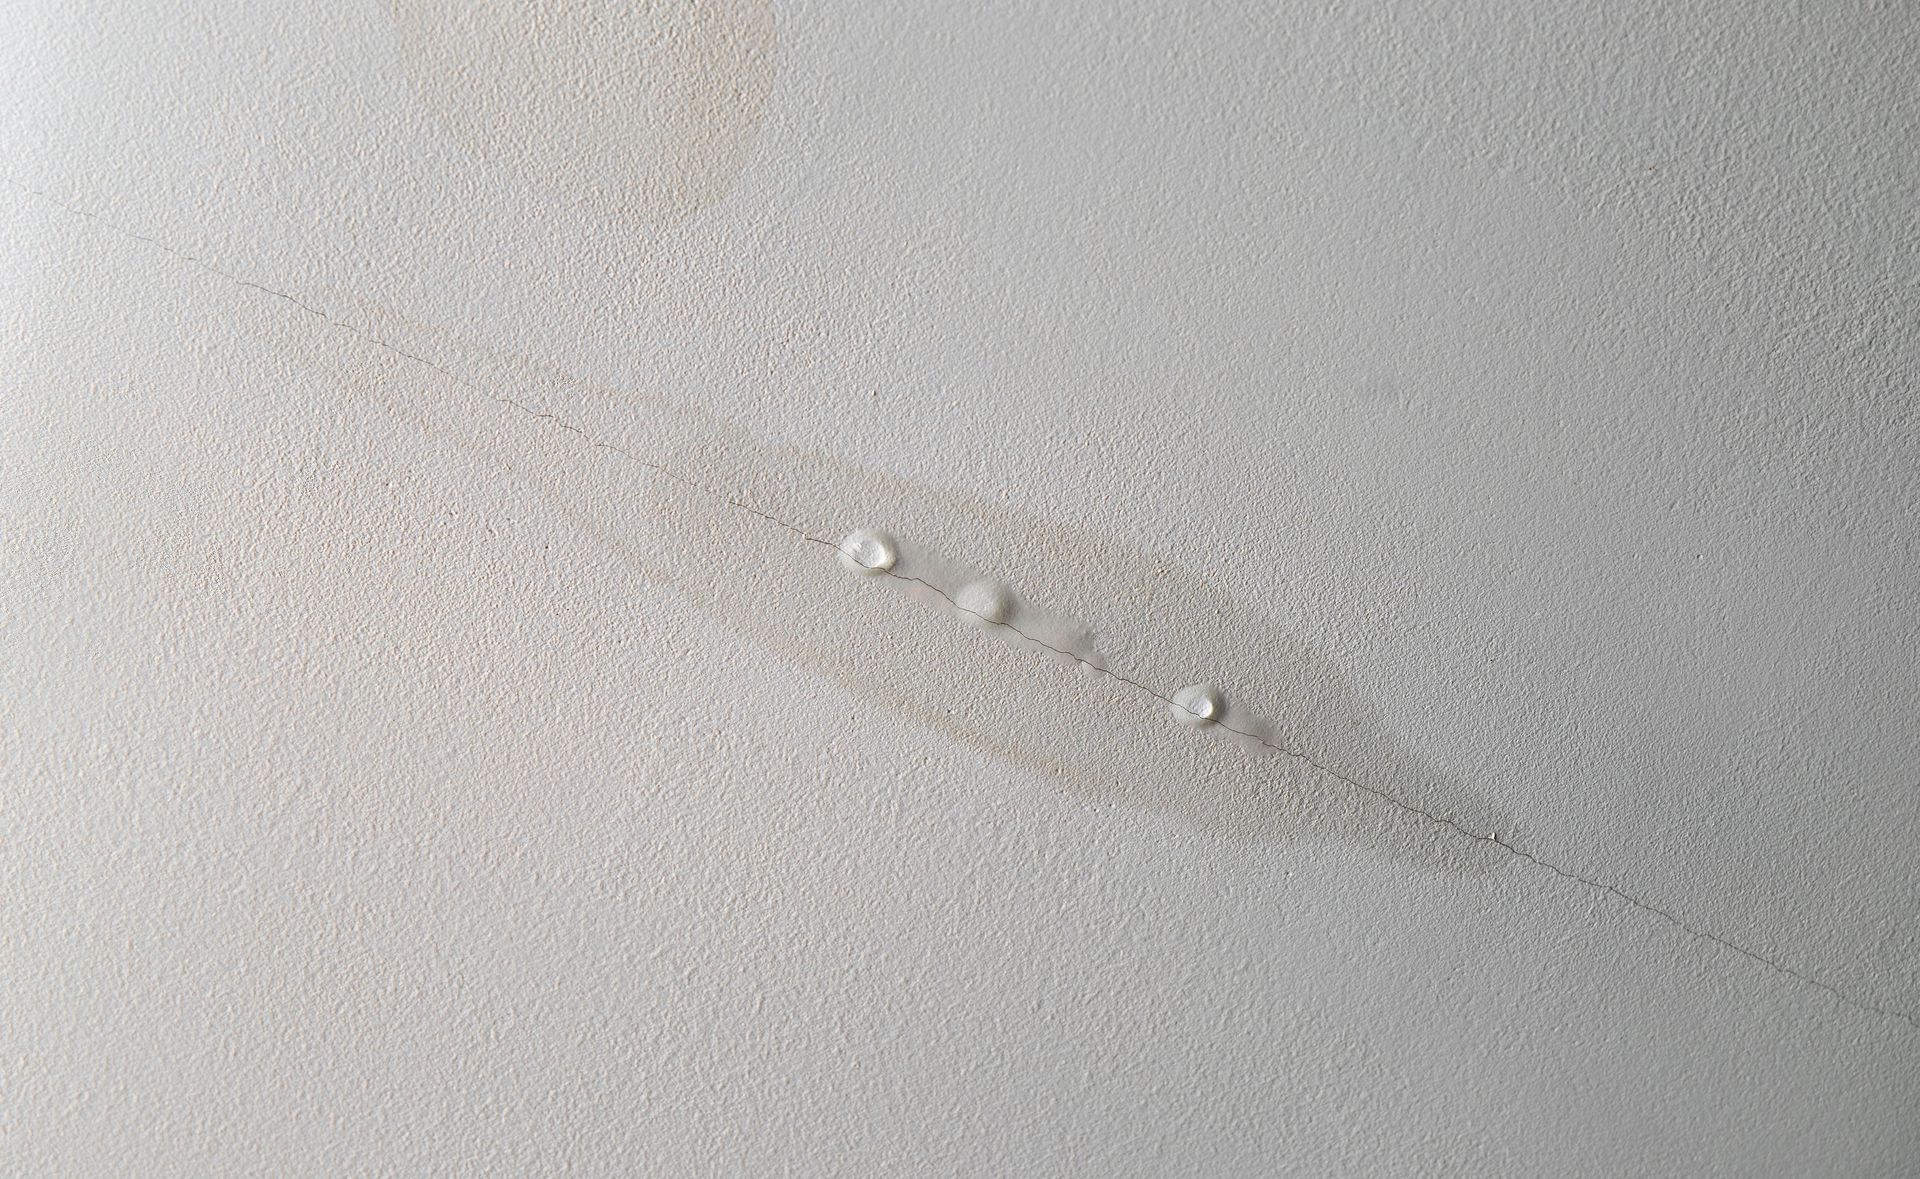
Water follows the path of least resistance, and in some of the older houses in Boston, you know your floors and beams aren’t quite plumb! What we often see particularly with older homes is that you might see water dripping in one spot, but the leak is in a very different location. Water can travel along rafters, soak into insulation, and show up somewhere completely different from where the water is coming into your house! The faster you respond, the less it spreads and less damage it causes.
Step 1: Contain the Water
Grab every bucket, pot, and towel you have and get them under the drip. If water is pooling on the floor, lay down towels or old blankets to absorb it and protect your flooring. If you have a plastic tarp or sheeting, or even a garbage bag put that down first - it'll keep the water from soaking into hardwood or carpet! Continue to monitor this area as much as possible until the storm passes, and don't forget to empty the buckets regularly. A full bucket that overflows just creates a second mess.
Step 2: Clear the Room as Best you Can
Start getting things out of the room as quickly as you can — electronics, rugs, furniture, anything you care about. Get it out or get it covered with plastic sheeting or garbage bags.
One thing that catches a lot of homeowners off guard: water doesn't stay where you see it. What looks like a drip on your second floor ceiling can travel silently through the walls, down through the subfloor, and find its way to the basement — sometimes without leaving an obvious trail. We've shown up to jobs where the homeowner was focused on the bedroom ceiling and had no idea their basement had been taking water for hours. So once you've contained the immediate situation, do a quick walk through every level of your home. Check the basement. Check the walls for soft spots or discoloration. Water is sneaky and it will find every crack and gap on the way down.
Step 3: Try to Find the Source (Safely)
We want to be clear here: do NOT go on your roof during an active storm.
But, you can take a look around your attic if you have safe access. And you might be able to walk around your house and take a peek at potential entry points. Do you have flashing that is peeling away from your house? Do you have shingles that are missing? Do you have siding that has spaces between the slats? Bring a flashlight and look for where the water is coming in. Common culprits include areas around chimneys, skylights, vents, or anywhere two roof planes meet. If you are in your attic and can see daylight through the roof boards, you’ve got a problem!
Knowing where the leak is coming from helps a lot when you call a roofer afterward, since they probably won’t be there to see the water pouring in. It will be easier to identify where the fixing needs to take place while the leak is active. Once everything dries and the rain stops, it will be much harder to identify… Which can potentially lead to more leaks during storms down the road if the right area isn’t repaired.
Step 4: Document Everything
Before you clean anything up, take photos and videos of all the damage - the ceiling, the walls, any damaged belongings, and anything you can see in the attic. Your insurance company is going to want this documentation, and it's much harder to make a claim without it.
Step 5: Call a Remediation Company, Not Just a Roofer
Here's something a lot of homeowners don't realize: a roofer will fix the leak, but they won't address the water damage that already got into your home. That's a different job entirely.
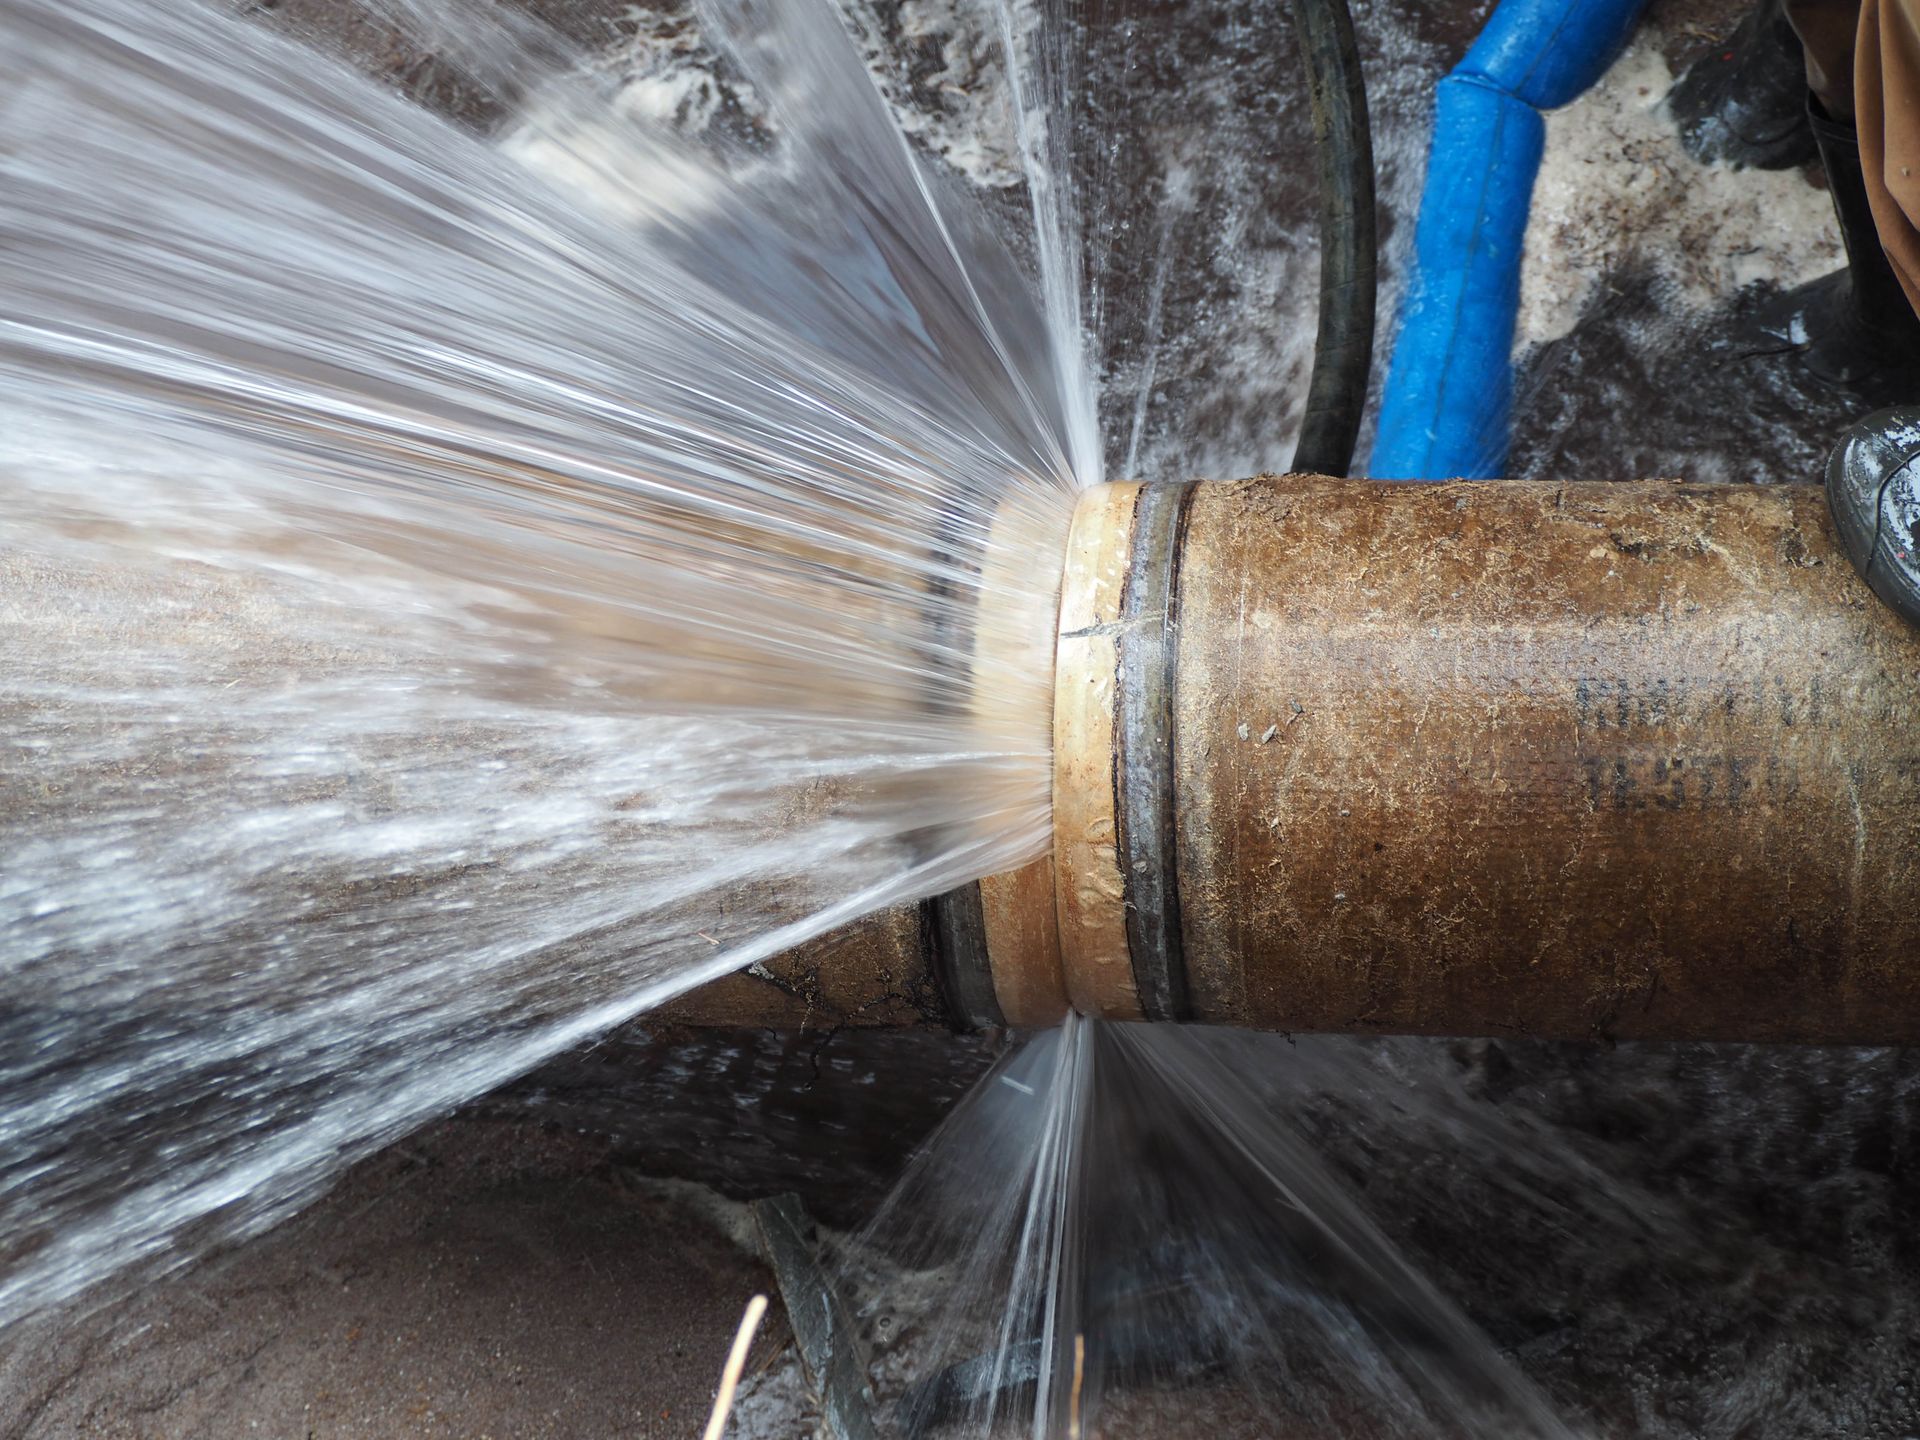
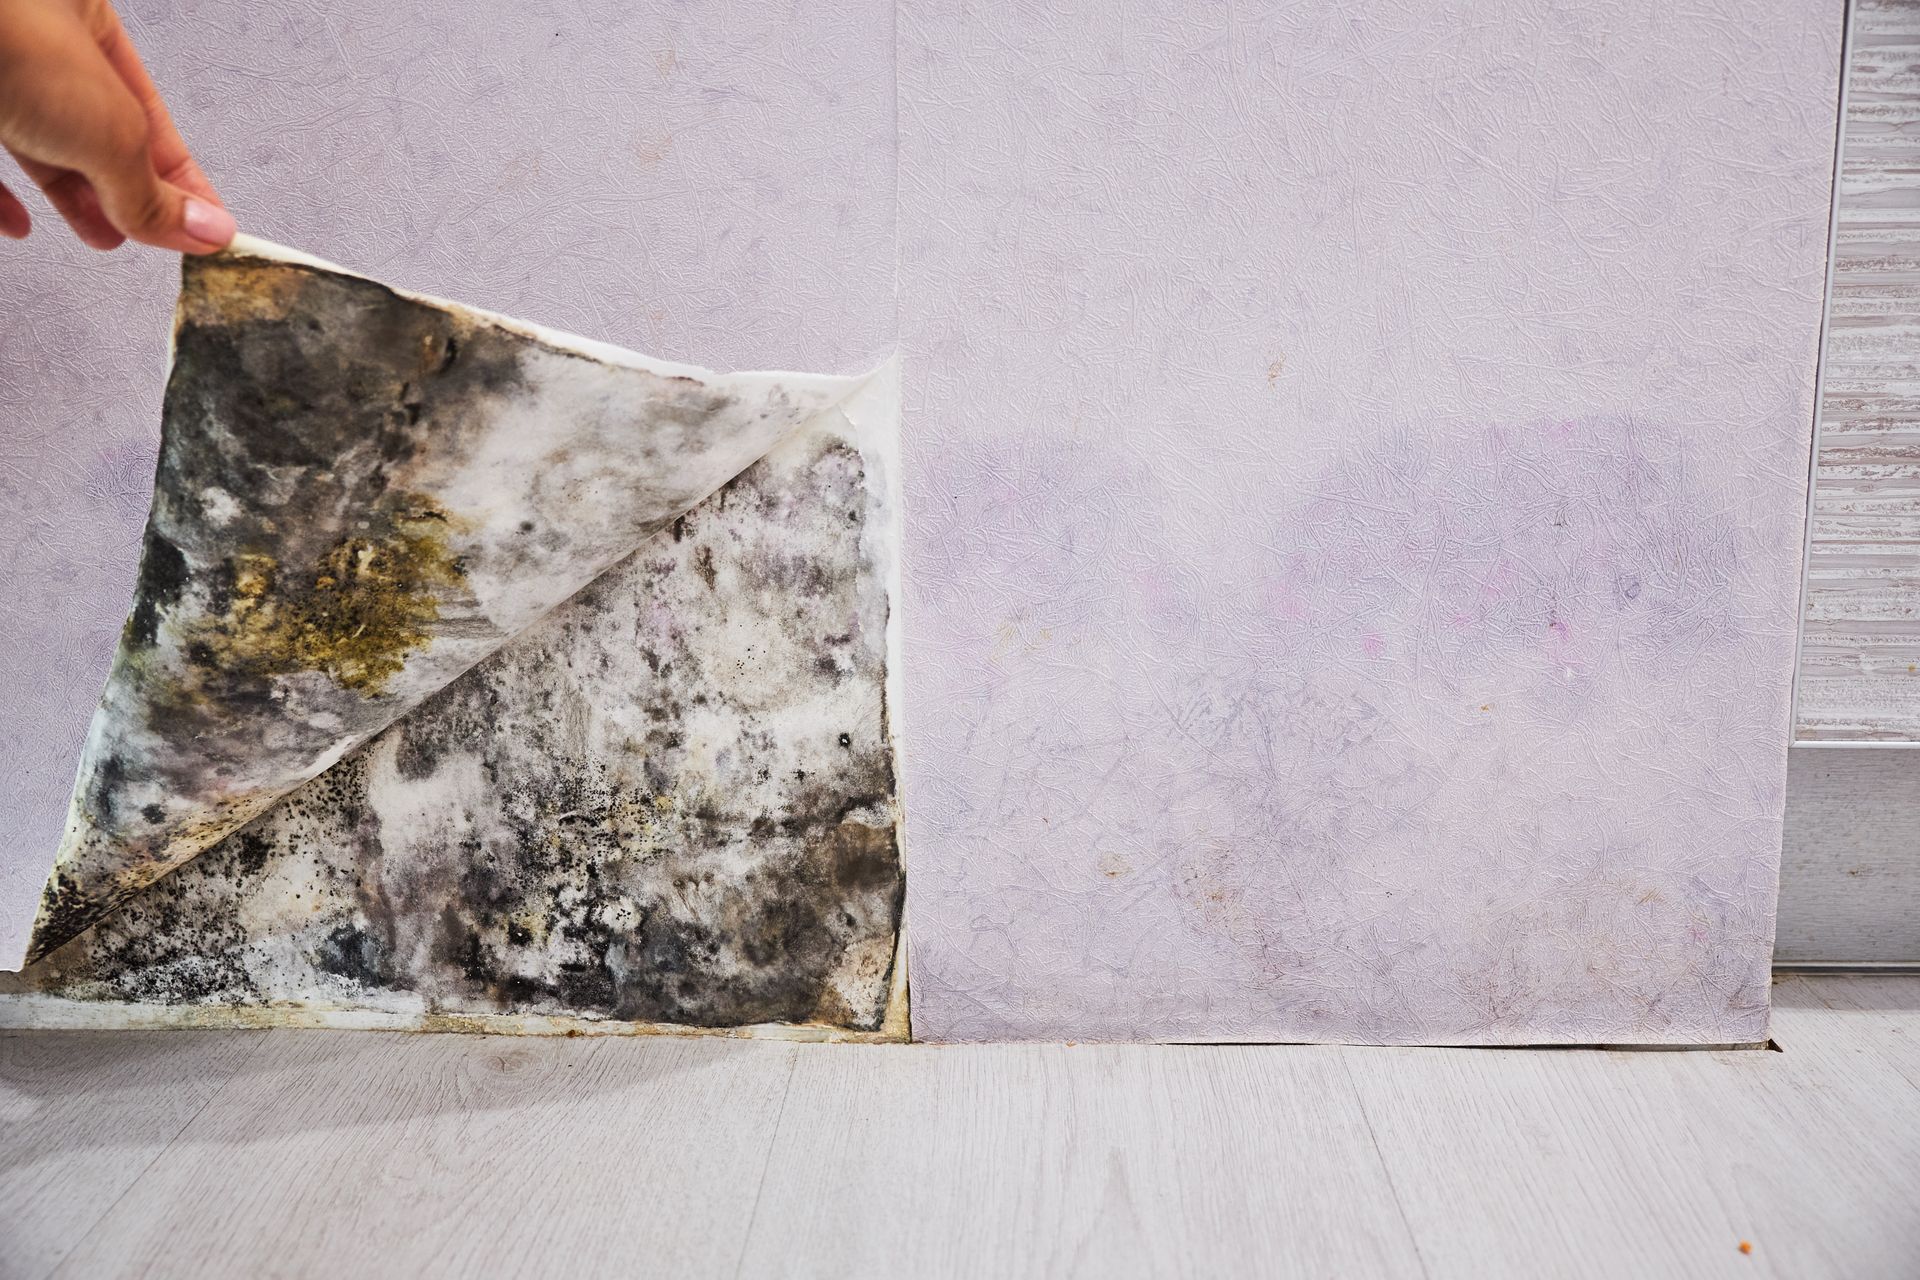
Water that gets into your walls, insulation, and subfloors needs to be properly dried out - otherwise that dirty water that soaked through the wooden boards in your home will turn into mold growth within 24 to 48 hours. In older homes in places like Weymouth or Norwell, where insulation tends to hold moisture, this can become a serious problem quickly if it isn't handled right.
A remediation company comes in immediately after the water damage happens and makes sure everything is properly dried and treated to prevent mold growth. Skipping this step is one of the most common mistakes homeowners make after a roof leak, and can be a costly one.
Keep Calm and Call Your Water Remediation Specialist!
A roof leak during a storm is scary, but keeping a cool head and taking these steps can seriously limit the damage to your home! Contain it, protect your stuff, document everything, and get us there as soon as possible to dry everything out.
Got water damage? Give us a call, anytime. Atlantic Water Remediation is available 24/7 for emergency water damage response across the South Shore and surrounding communities. If a storm has gotten into your home, give us a call - we'll help you figure out the next steps and get your home dried out fast!