And while one day it’s 45, the next night the temperature plunges, and suddenly you’re dealing with frozen pipes or heavy ice forming along your roofline.
These issues are very common for homeowners in Northeast & Boston - But, just because they’re common doesn’t mean everyone knows how to handle them in a safe way. We’ve answered several calls dealing with these issues recently and some of the attempts at DIY thawing & prevention are downright dangerous! We thought we’d let you know what you need to do to address freezing pipes and ice dams in ways that prevent damage to your home (or yourself!)
Yes, Let Your Faucet Drip!
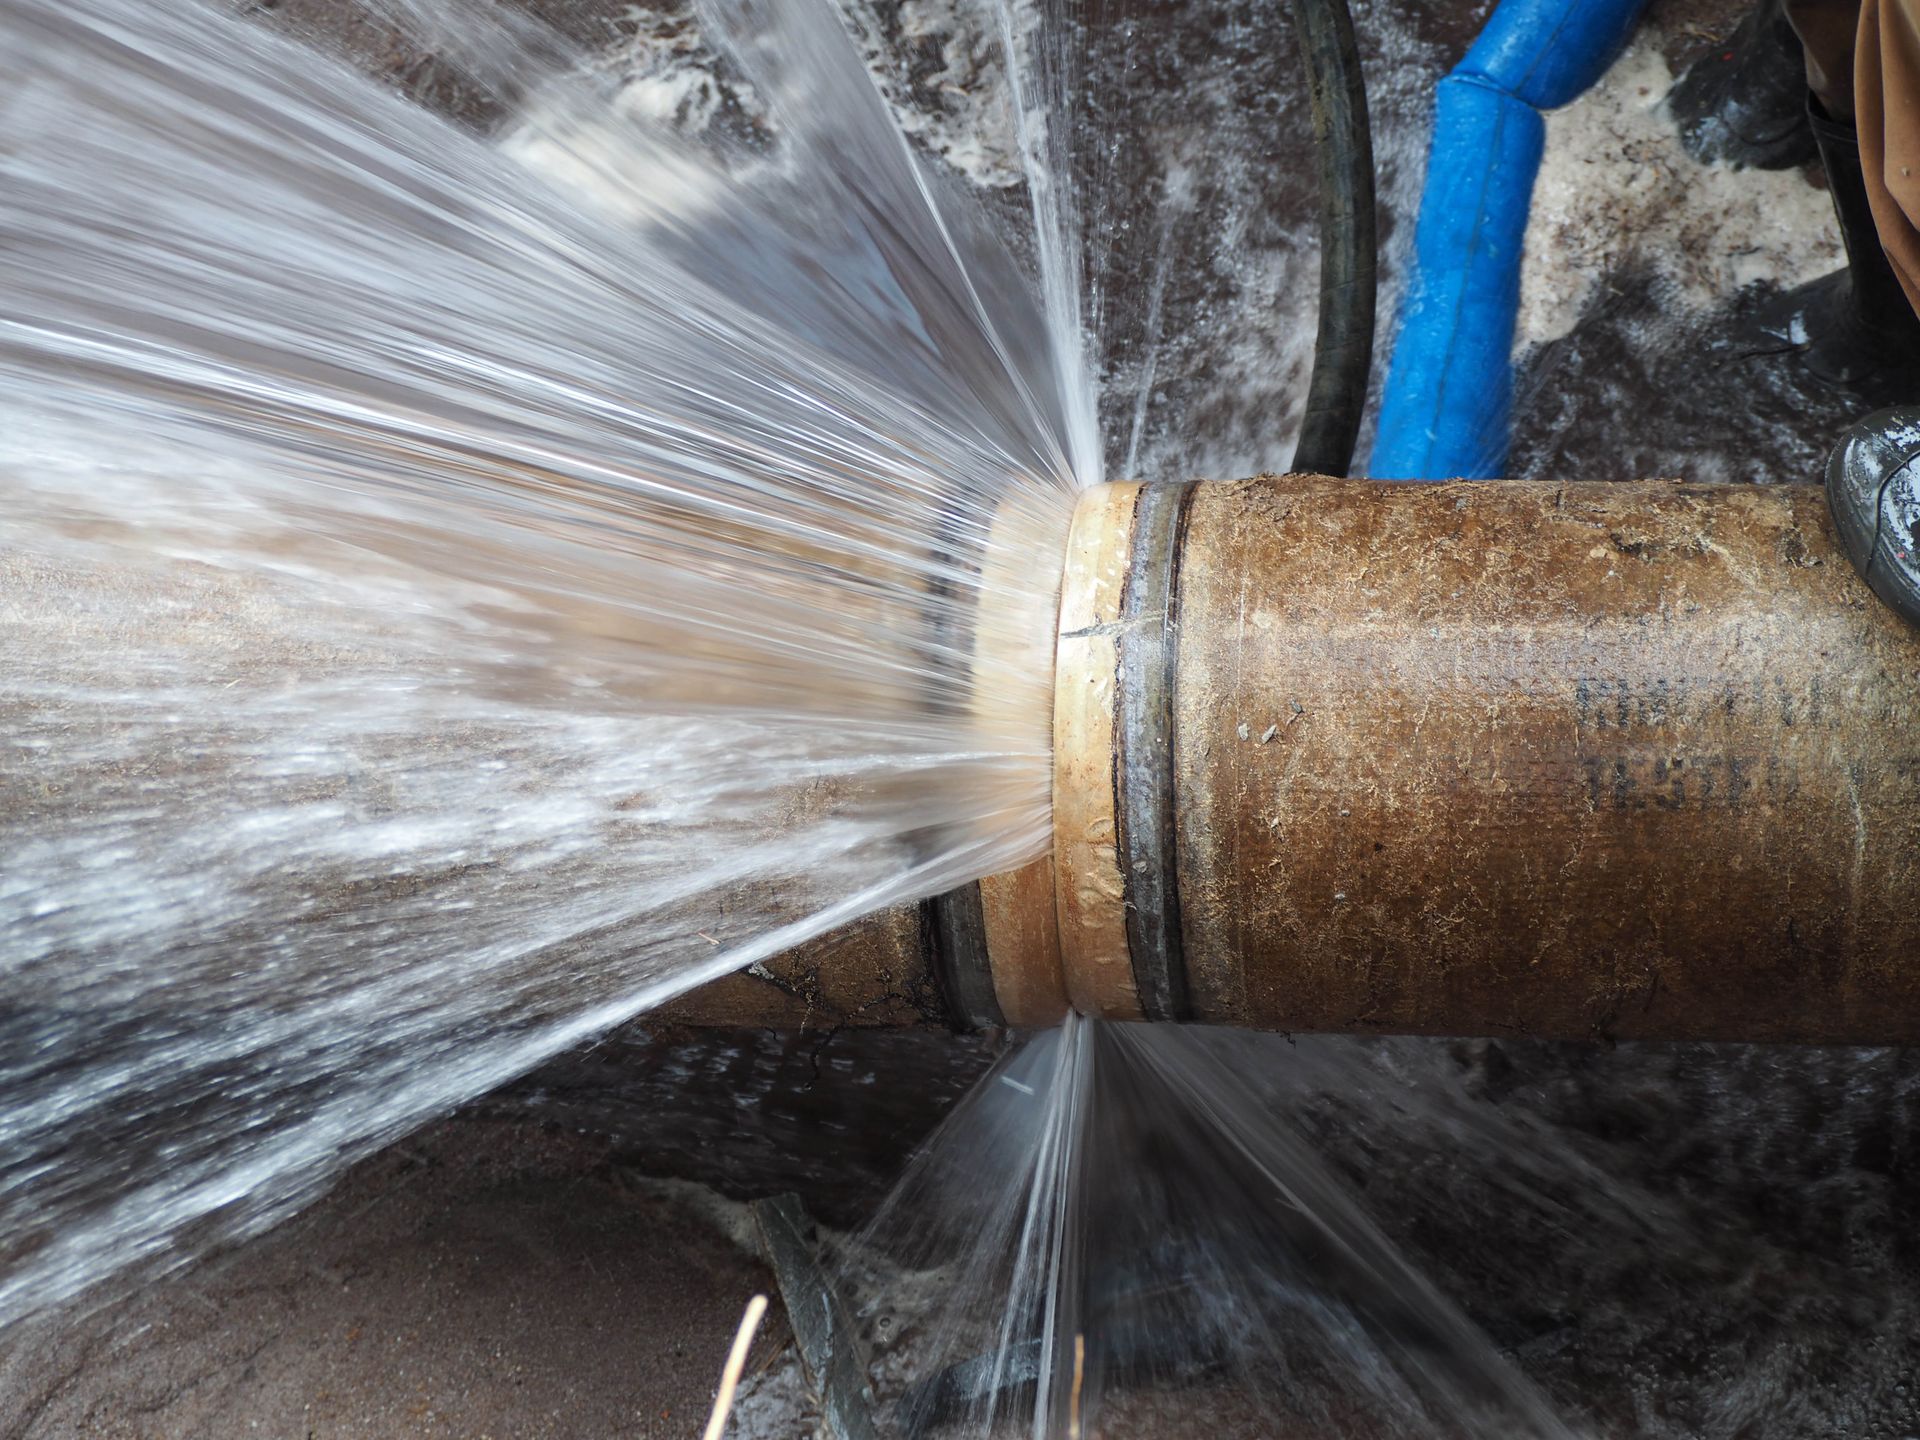
The water in the pipes inside your home is a pressurized system. When you turn on a faucet, the pressure forces the water out of the faucet and water flows right into your home to replace it, consistently keeping the system under pressure. When water freezes inside a pipe, it expands. That expansion increases internal pressure, and it’s the
pressure - not just the ice - that causes pipes to crack or burst (and subsequently for water to continue to spray out of the cracked pipe.
Allowing a faucet to drip during extreme cold keeps water moving and helps relieve that pressure buildup.
Letting your faucets drip and keeping cabinet doors open during freezing temperatures can absolutely reduce your risk of pipes freezing. We know some of you are thinking “I can’t just waste water like that, my bill is going to be ridiculous!” The small increase in your water bill is far less expensive than replacing insulation, drywall, or flooring! It’s a simple step that can prevent thousands of dollars in water damage restoration.
Heat Tape / Pipe Heating Cable is Fantastic Prevention
For homes with exposed plumbing in basements, crawl spaces, garages, or along foundation walls, heat tape - also known as pipe heating cable - can be a practical solution. Pipe heating cable is commonly available at local hardware stores or right on Amazon. It is an electric cable designed to wrap around metal or rigid plastic pipes. Many include built-in thermostats that activate around 37–38°F and automatically shut off as temperatures rise.
They are particularly useful for:
• Pipes running along exterior walls
• Uninsulated basement plumbing
• Areas prone to drafts
• Seasonal or vacant properties
Pipes in these parts of your home can get colder than the ambient temperature of the house, putting them at risk for freezing and bursting. By wrapping them with heating cable, you can give yourself some nice peace of mind knowing that those pipes are much less likely to freeze! We would like to note - Improper installation can create electrical or fire hazards. If you aren’t sure what you’re doing, professional installation is recommended.
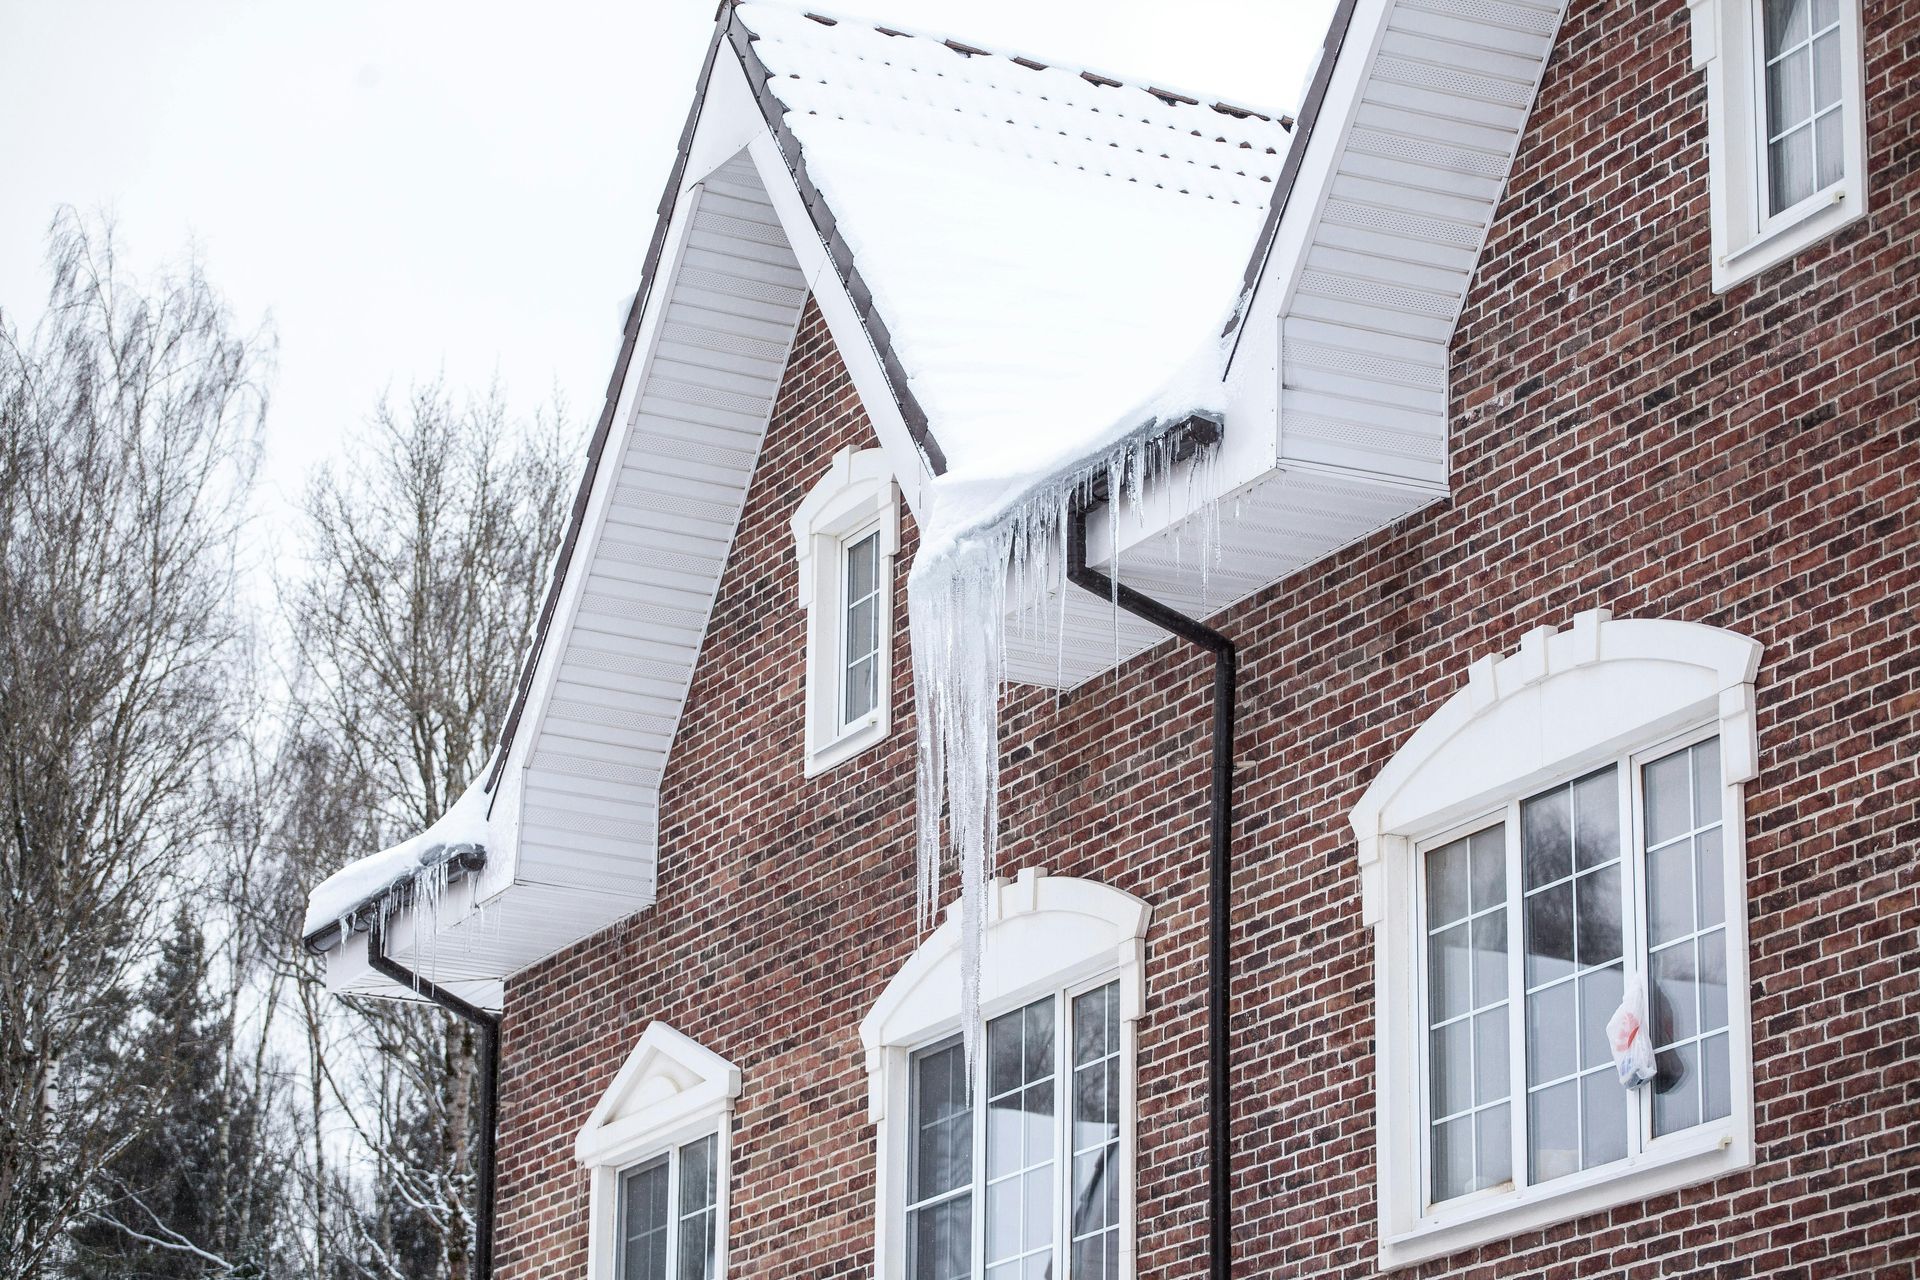
How do I melt an Ice Dam?
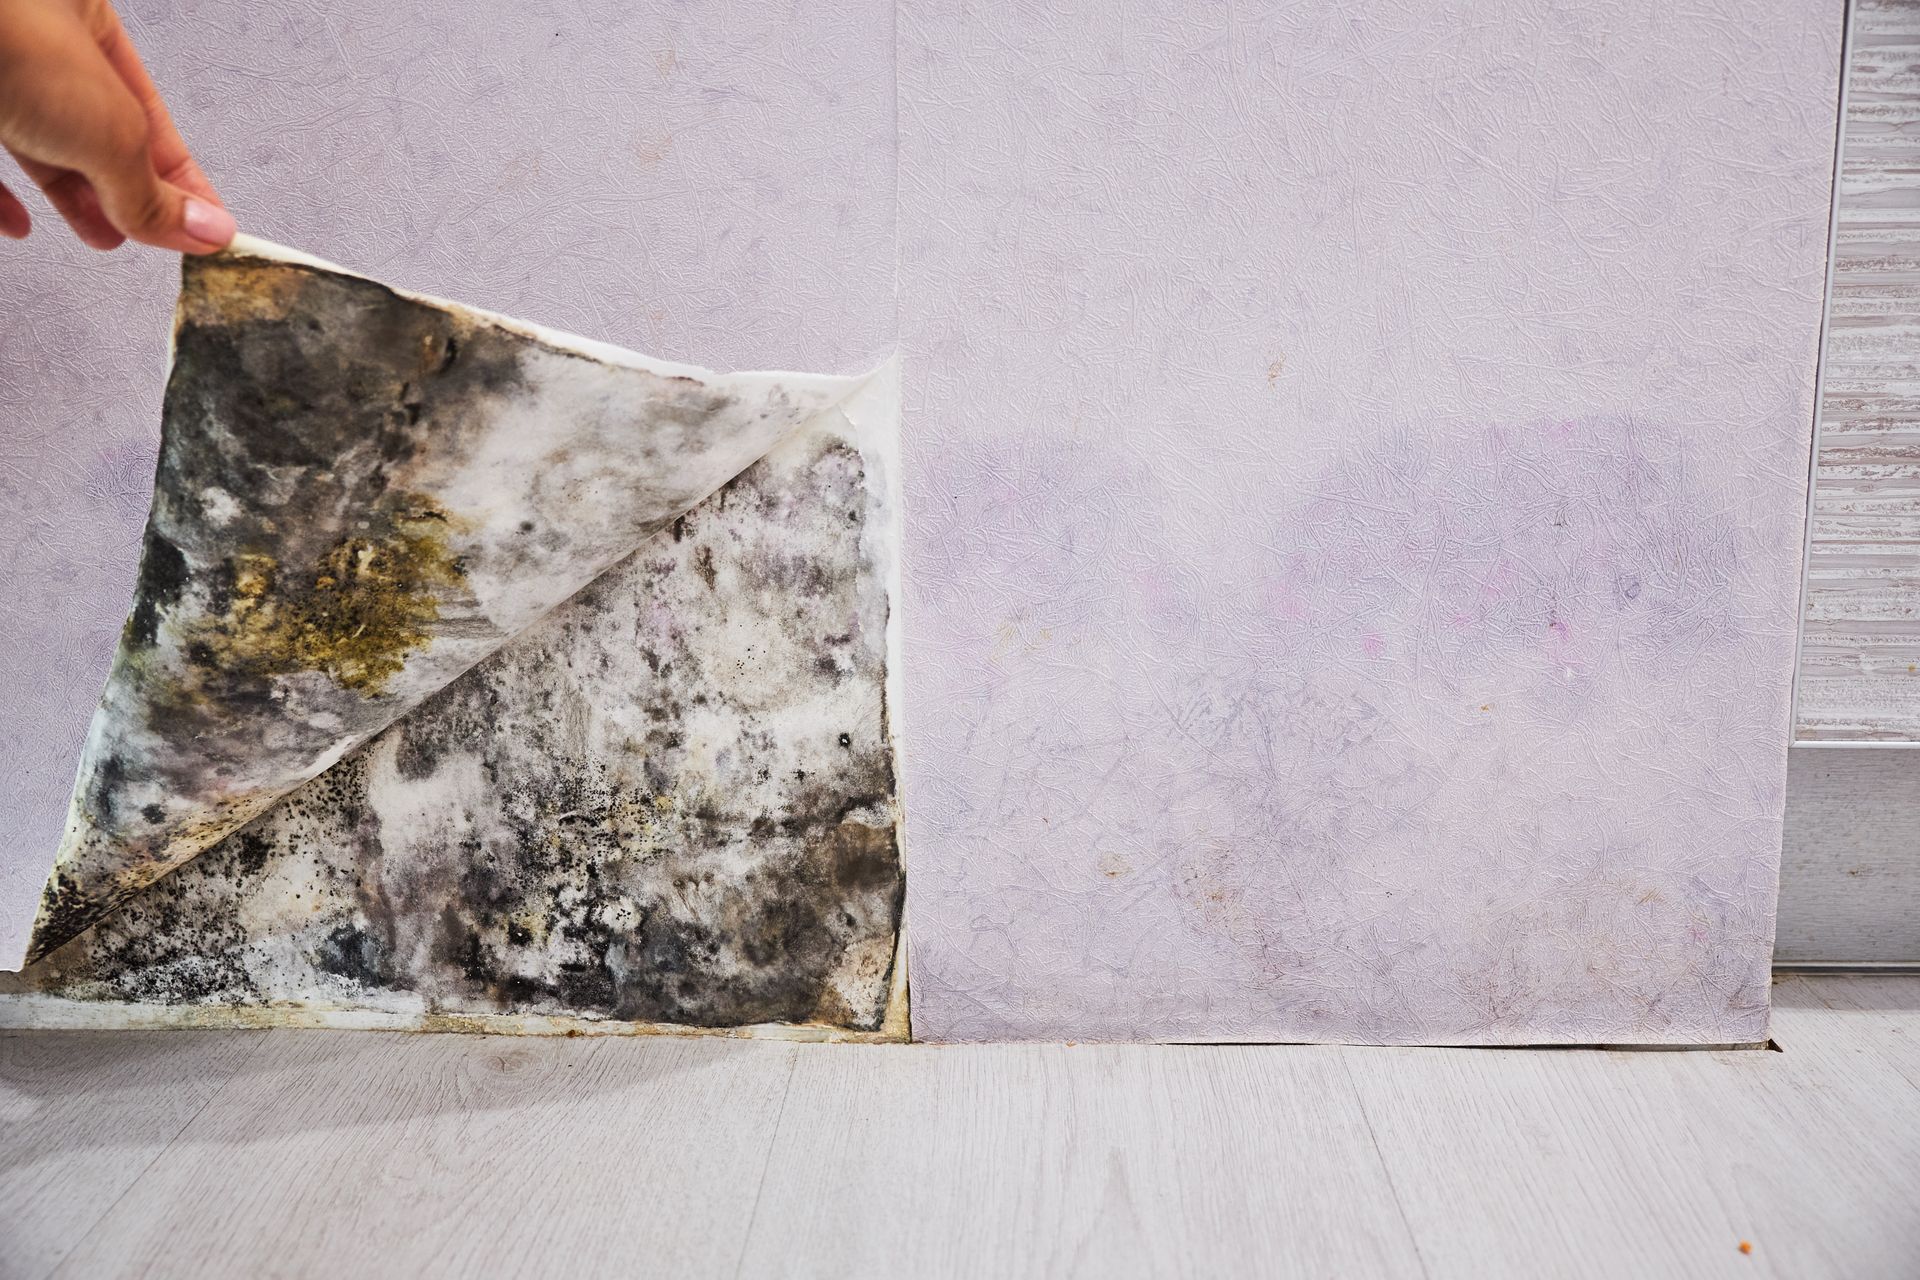
Ice dams develop when snow melts on warmer portions of the roof and refreezes along the colder eaves. That ridge of ice blocks drainage of water from the roof, causing water to back up under the shingles and into the home. Ice dams can lead to interior water damage, insulation saturation, structural deterioration, and mold growth if not addressed.
Older homes with inconsistencies in ventilation and insulation often can contribute to the problem. But regardless of the cause, what do you do when it happens?! Let’s start with what NOT to do.
What Not to Do: Hammers, Chisels, and Blow Torches
What do you do when there’s a giant block of ice on your roof? Your initial reaction might think that a hammer and chisel might be a good idea. Unfortunately, chipping ice with a hammer or chisel, or peeling ice off the roof that is frozen to the shingles or flashing, often results in damage to your shingles, flashing, and gutters. This damage often leads to further water damage in the home by increasing potential access points, and those repairs may cost more than the damage caused by the ice dam would have.
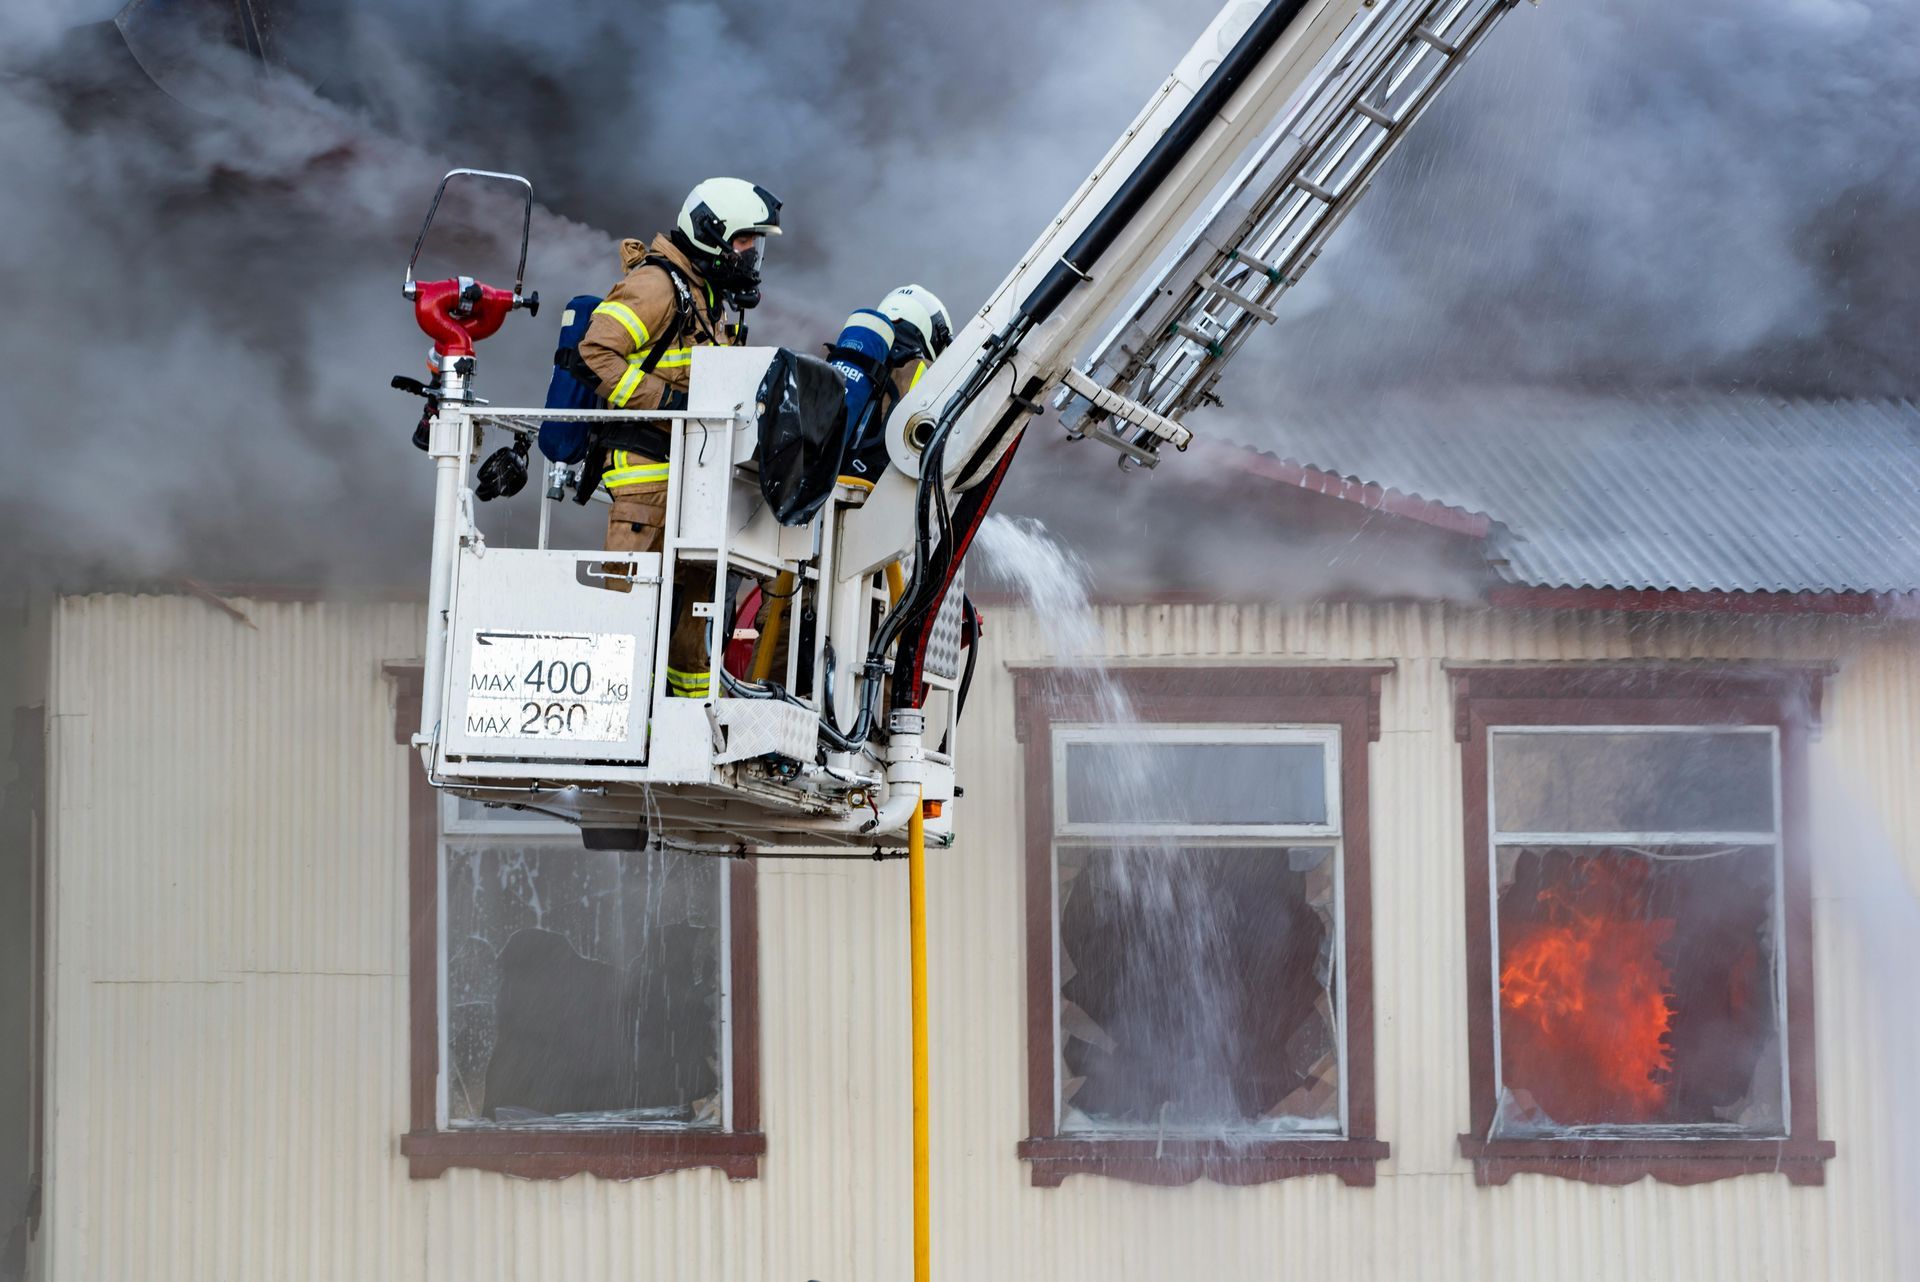
So, what about a blow torch? The answer again is a solid NO. Heating equipment that introduces open flames near roofing materials significantly increases your fire risk. People have burned down their entire homes attempting this! But don’t worry - There are better, safer, more simple ways to address ice dams.
The Safer Way to Address Ice Dams
Don’t worry, there is a solution that doesn’t involve an open flame or chipping away at a gigantic ice block on your roof all afternoon! Here’s what we’d suggest:
For short-term relief:
• Use calcium chloride (not rock salt, which will damage your roof)
• Fill a sock or pantyhose with it
• Lay it perpendicular across the ice dam, with the end hanging slightly off of the roof to create a drainage channel - While this method does not remove the ice dam, it allows the trapped water to escape without damaging roofing materials.
• Apply several channels space out for better drainage.
For longer-term prevention:
• Improve attic insulation
• Improve roof ventilation
• Remove snow from roof edges with a roof rake
• Consider professionally installed heat cables along the eaves if this continues to be an ongoing issue despite other repairs.
Why Early Action Matters
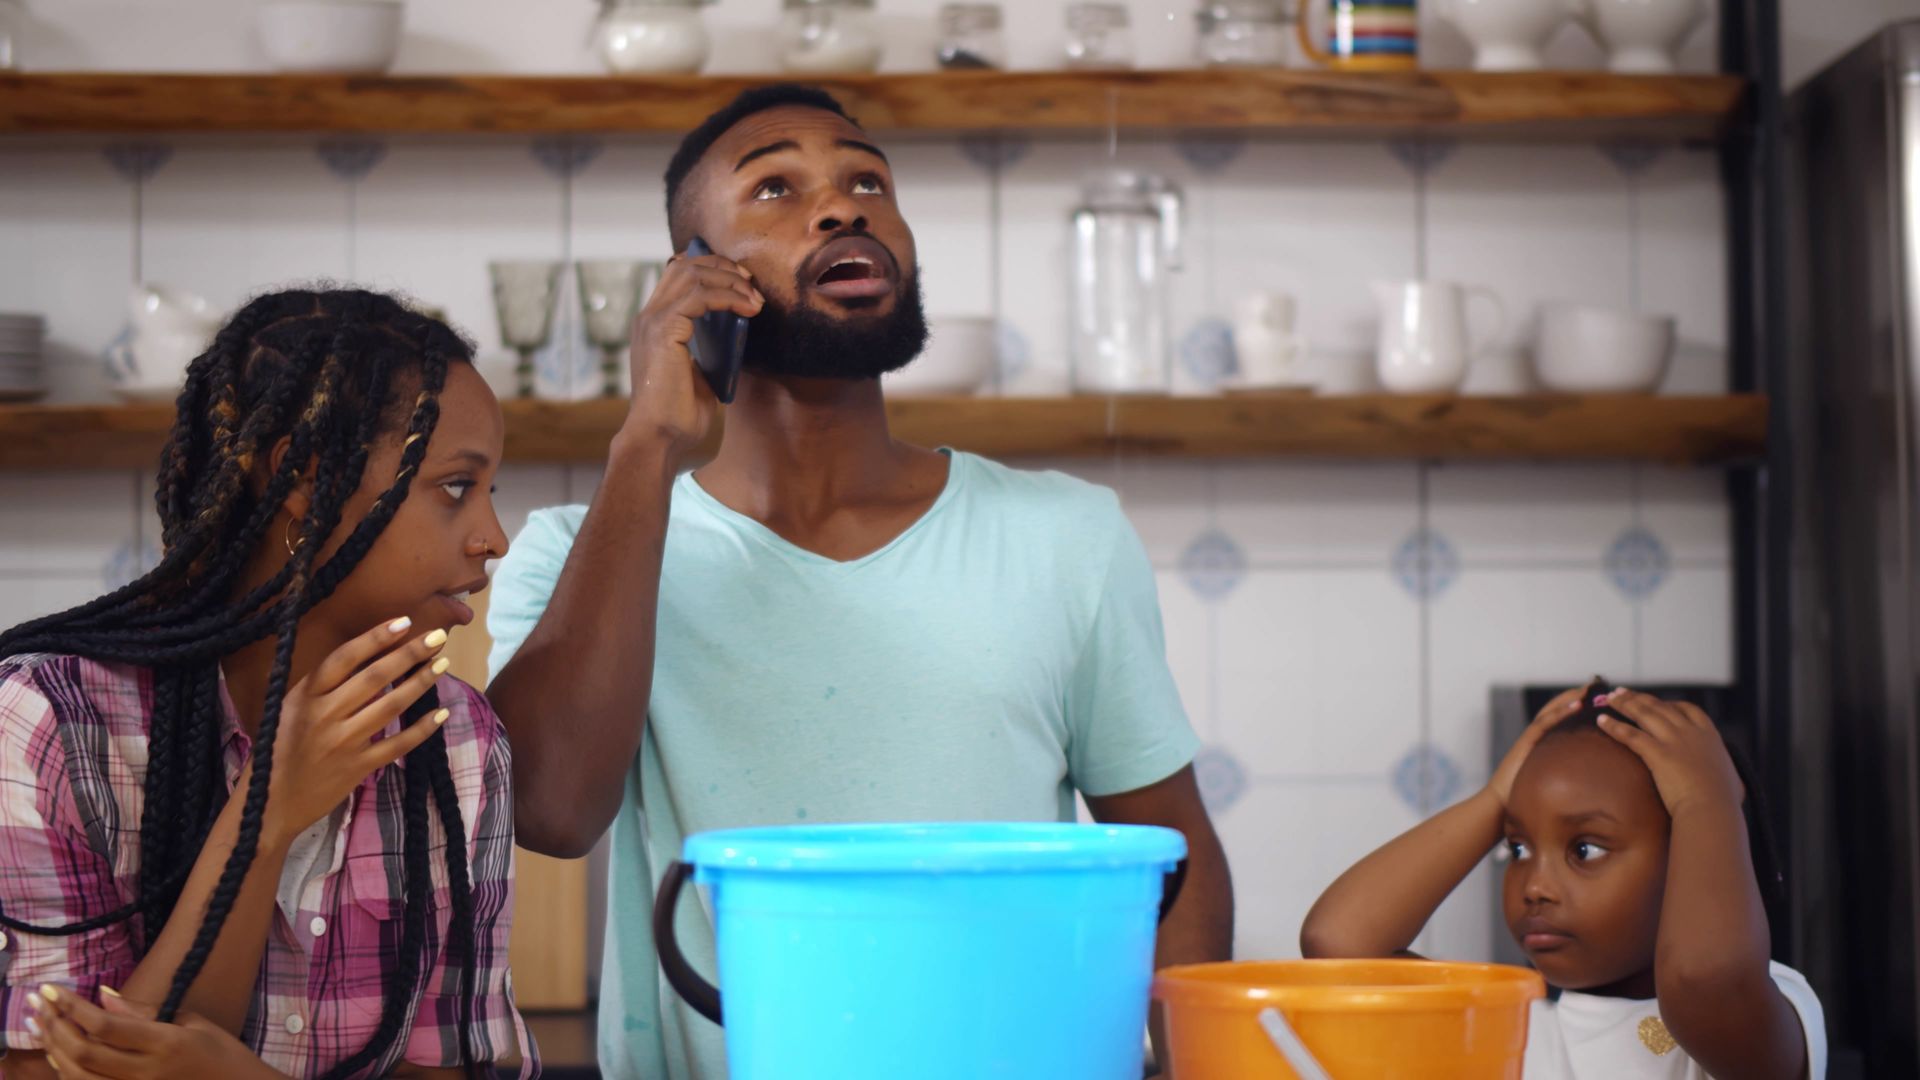
Issues resulting from frozen pipes and ice dams don’t stay minor for long. Once water enters your walls or ceilings, it spreads quickly, and you can be dealing with a mold growth issue soon after that. If you have had issues with ice dams or frozen pipes in the past, a little prevention this winter could really go a long way in preventing major damage.
If you are already dealing with an ice dam or a frozen pipe,
give us a call right away. We’re available 24/7 to help you find the right solution and prevent further damage!